
 Chevron stripes have been around for awhile, but I feel like I’m noticing them more and more lately. What’s not to love? All the tidiness of a stripe, with a devil-may-care zig-zag in it. I’ve been wanting to incorporate more chevron into my decor, and earlier this week stumbled upon a great DIY lampshade tutorial over at pomp & circumstance.com. Their directions were pretty straightforward, but I’ll recap here, with a few additional tips/warnings.
You’ll need 4 things:
- A fabric lampshade
- Acrylic paint (a 4 oz. tube should be sufficient)
- A sponge brush
- Painter’s tape (I used masking tape because I had some handy and kind of regret it)
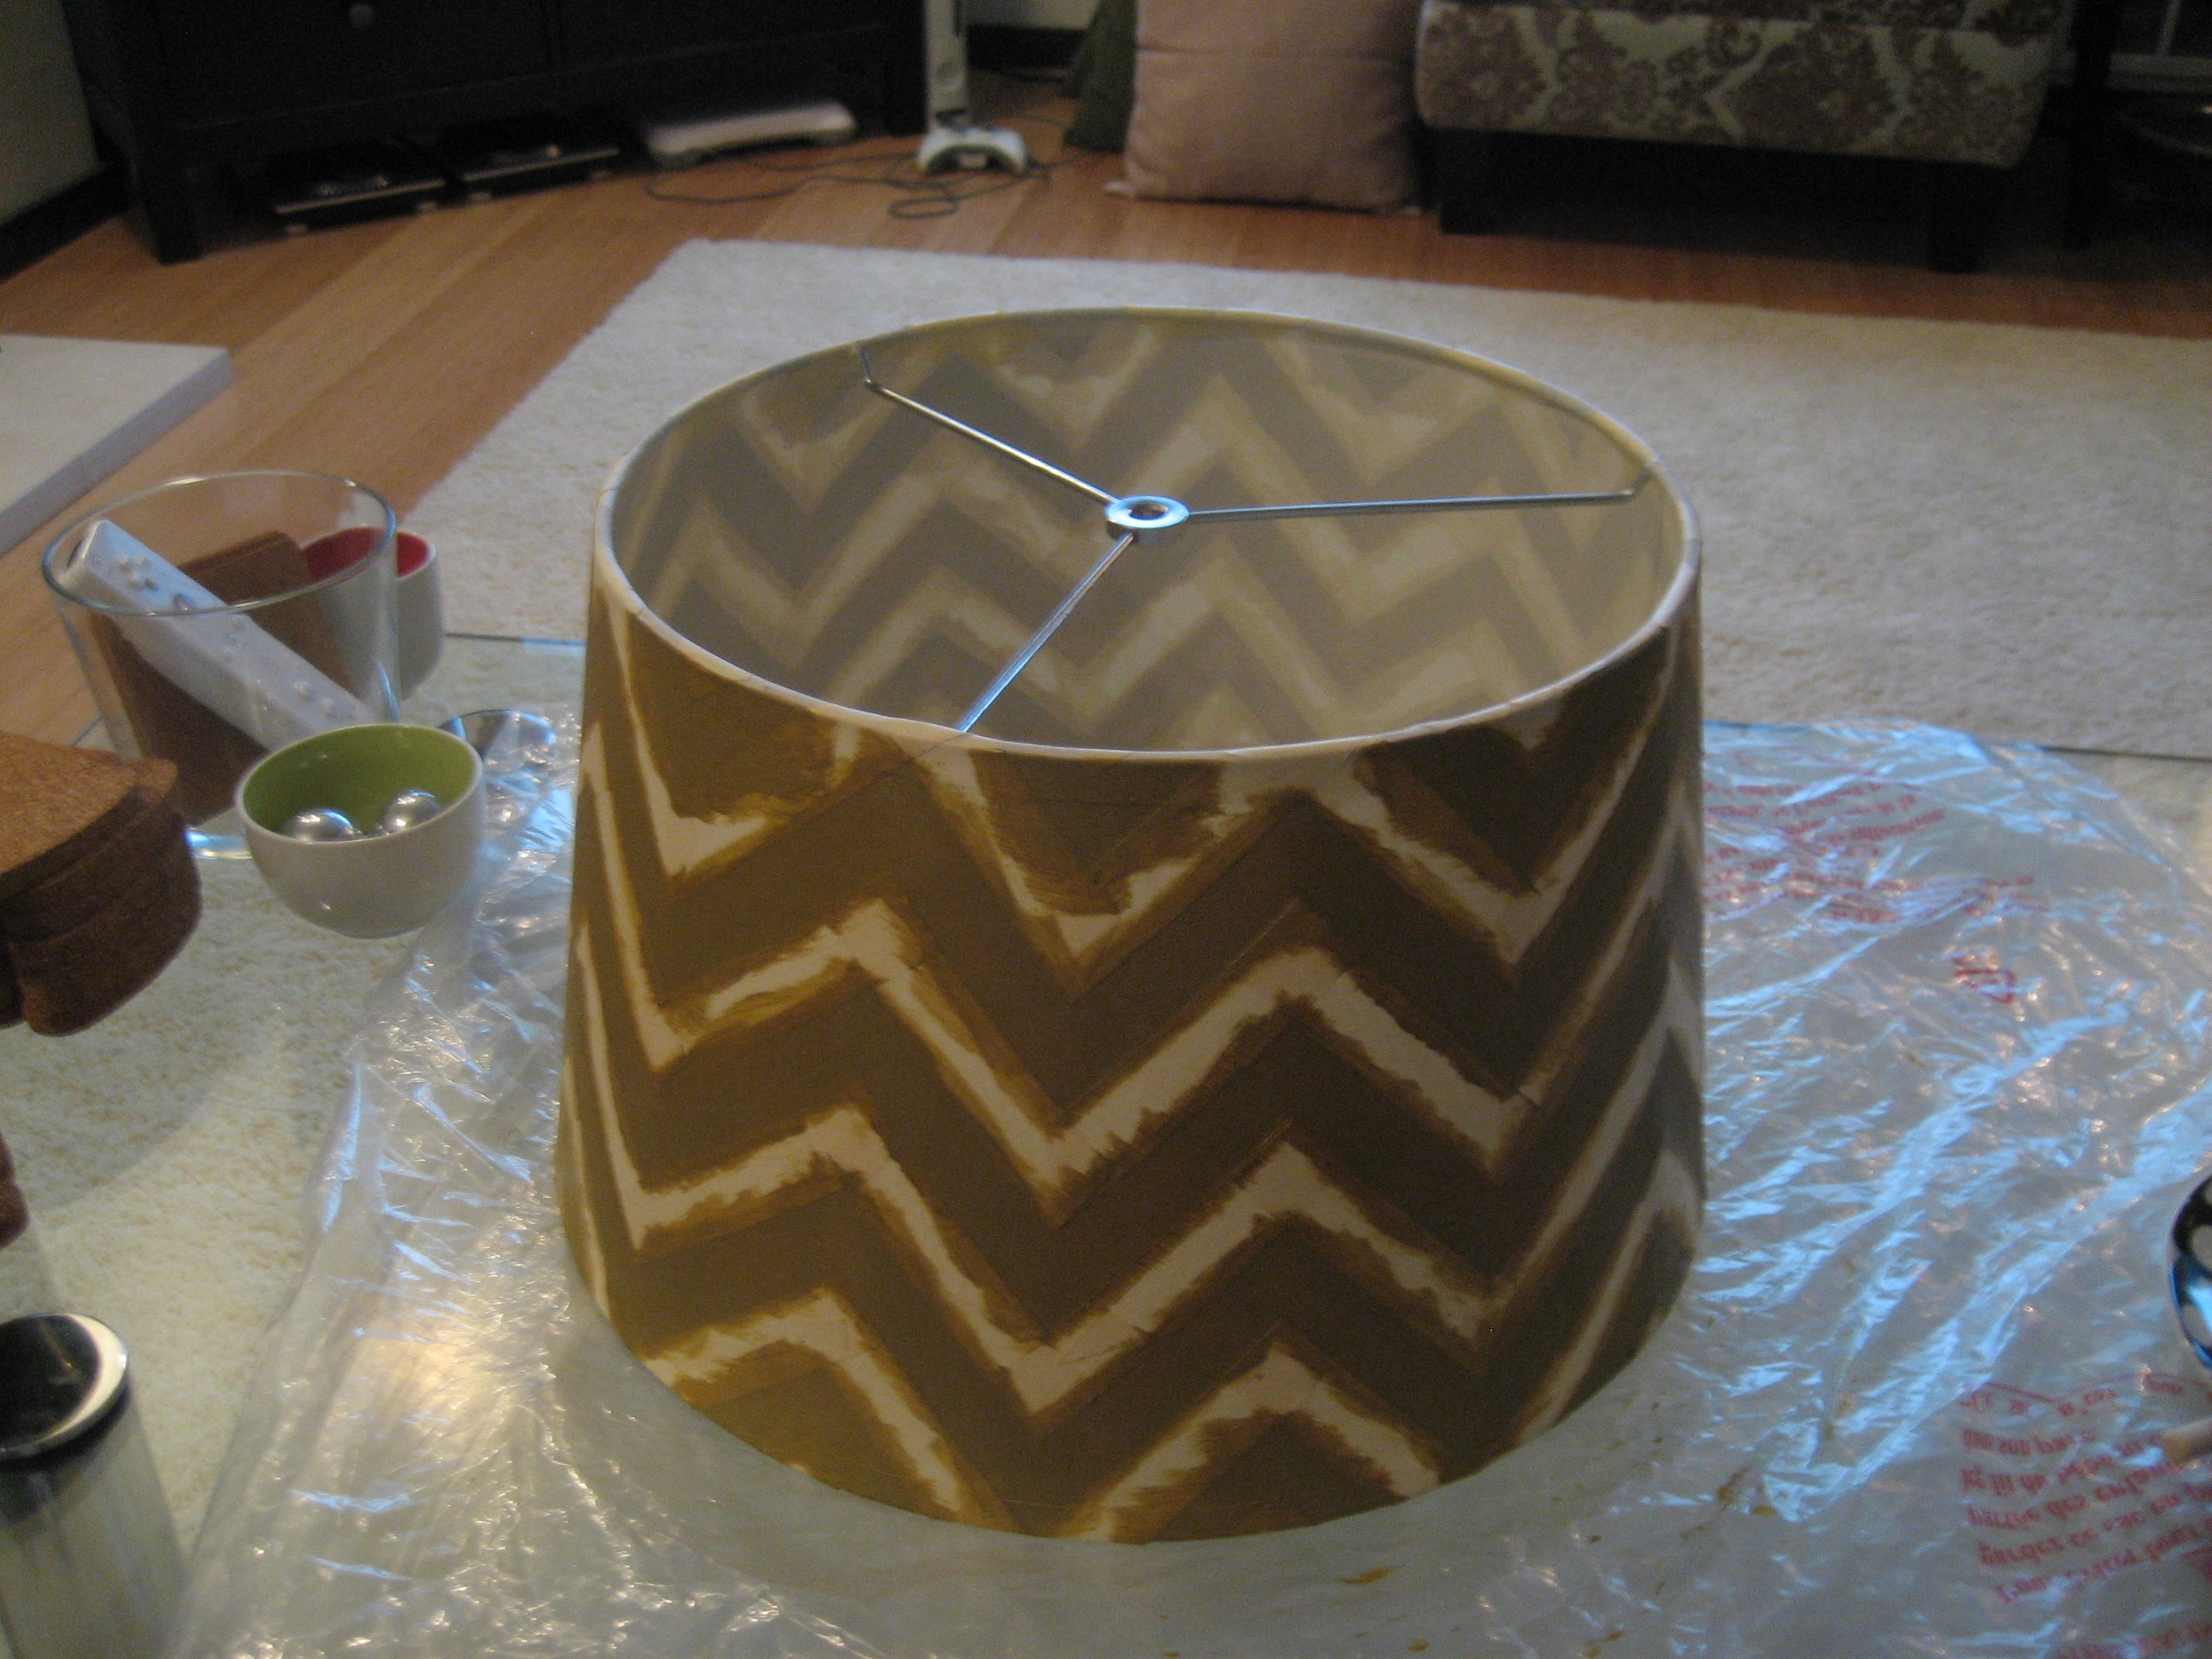
First, clear some space and lay down something to protect your workspace in case you spill your paint. Measure how far up the lampshade you want the peaks of your stripes to go, and stick a band of tape around the lampshade:

Start taping your first row of triangles from the bottom of the lampshade to just below your tape circle. After your first row is complete, remove the tape circle and tape on your second row of triangles, then your third, and so on until the shade is covered. Don’t forget to add little pieces/points to the top and bottom to complete the pattern:

Next, pour some paint onto a plate (acrylic washes off with soap and water), and sponge the paint onto the lampshade. Note: my masking tape didn’t stick as well as painter’s tape will, but whichever type you use, make sure it’s pressed down firmly before you begin painting so the paint doesn’t bleed under the tape.
Another important note: a single coat of paint will probably look streaky once the shade has light coming through it. A good way to check your progress is to wait until your current coat is dry (usually takes about 30 minutes), and gently set it back on the lamp base, turn on the light, and evaluate how evenly you applied your paint. A streaky look can actually look sort of neat, but I wanted a dark, uniform color, so I ended up doing 3 coats of paint.
Once the paint is dry, carefully peel the tape off of the lampshade and inspect your handiwork. If you look closely at mine, you’ll see spots where the paint bled under my masking tape. Fortunately, I’m okay with it looking a little homemade. It’s…um…charming, right?

The final step: pop the shade back on your lamp base and turn it on. Looks pretty snazzy, eh?

